Cement grout is porous, so soap, dirt and mould sink into it, and the acids people often reach for, such as vinegar and lemon juice, eat into it.
Quick answer: Identify the grout and any sealer before choosing a cleaner. Use the maker’s permitted method; for a labelled mould product, follow its complete dilution and contact-time instructions. No single bicarb, oxygen-bleach or chlorine-bleach recipe suits every joint.
Which grout do you have?
Grout | How it looks | What changes |
|---|---|---|
Cement grout (most homes) | Matt and slightly sandy | The method below; no acids; seal it once it's clean |
Coloured cement grout | Tinted grey, charcoal or a colour | The method below. Test oxygen bleach on a hidden joint, and keep chlorine bleach well diluted: ARDEX says strong bleach can affect the oxides (the pigments) in grout |
Epoxy grout | Smooth and slightly glossy, like hard plastic | Non-porous and stain-resistant, so it never needs sealing. The same method works; ARDEX says its epoxy grouts can take an acidic cleaner, but check your brand's data sheet |
Grout between marble, limestone or travertine | Natural stone tiles | Neutral stone cleaner only, because acid etches the stone; test oxygen bleach on a hidden spot |
Not sure | Hard to tell | Treat it as cement grout |
Vinegar, bleach, peroxide or steam: what works on grout?
Method | Verdict | Why |
|---|---|---|
Bicarb paste and a stiff brush | Works: start here | A mild abrasive that's alkaline, so it's safe on cement |
Vinegar, lemon juice or acidic tile cleaners | Don't | ARDEX says cement grouts "will corrode in contact with acid", so the cleaner "must be neutral or alkaline". Repeated use discolours and weakens the joints |
Vinegar poured over bicarb | Don't | The fizz is the two neutralising each other, and the acid still reaches the cement |
Oxygen bleach (sodium percarbonate) | Works on stains | Alkaline, and it breaks down into hydrogen peroxide in water |
Hydrogen peroxide from the chemist | Works, but the powder is easier | Oxygen bleach releases the same active ingredient, and a paste stays on the joint where a liquid runs off |
Chlorine bleach | Black mould only | Mapei says regular use "can discolor and weaken grout over time" |
Steam cleaner | Works | ARDEX lists steam among the methods its grouts accept. Keep the nozzle moving |
Steel wool or a wire brush | Don't | It scores the joint, and scored grout holds dirt |
How to clean grout, step by step
You'll need bicarb soda, oxygen bleach (sold as a laundry soaker or oxygen stain remover), a stiff nylon grout brush, an old toothbrush for corners, two cloths, a spray bottle of water, rubber gloves and eye protection.
Safety Never mix cleaning products. Victoria’s Better Health Channel: “Do not mix bleach with ammonia, acids or other cleaners – this can release hazardous chlorine or chloramine fumes.” Ventilate the room during and after use. Wear gloves and eye protection. Follow the label's dilution and contact time. In an emergency call 000. For poisoning advice call the Poisons Information Centre on 13 11 26 — 24 hours, anywhere in Australia.
Step 1: Clean the tiles first

Confirm the grout, tile and sealer types. Avoid acid on cement grout or acid-sensitive stone; mould concerns need the separate guidance in the article.
Read the illustration as text
- Clear the tile film
- Lift surrounding soap and soil before treating the joints.
- Work along the joint
- Use a compatible cleaner and permitted non-metallic brush.
- Judge when dry
- Rinse off residue and let the grout dry before assessing the result.
Crumbling or missing grout needs repair, not stronger scrubbing.
Wipe the tiles with warm water and a little dishwashing liquid or a pH-neutral tile cleaner, then rinse, so soap film isn't spread back into the joints; How to Clean Bathroom and Shower Tiles has the full method. In a shower, clear the soap scum from the glass first (How to Clean Shower Glass (and Keep Soap Scum Off It)).
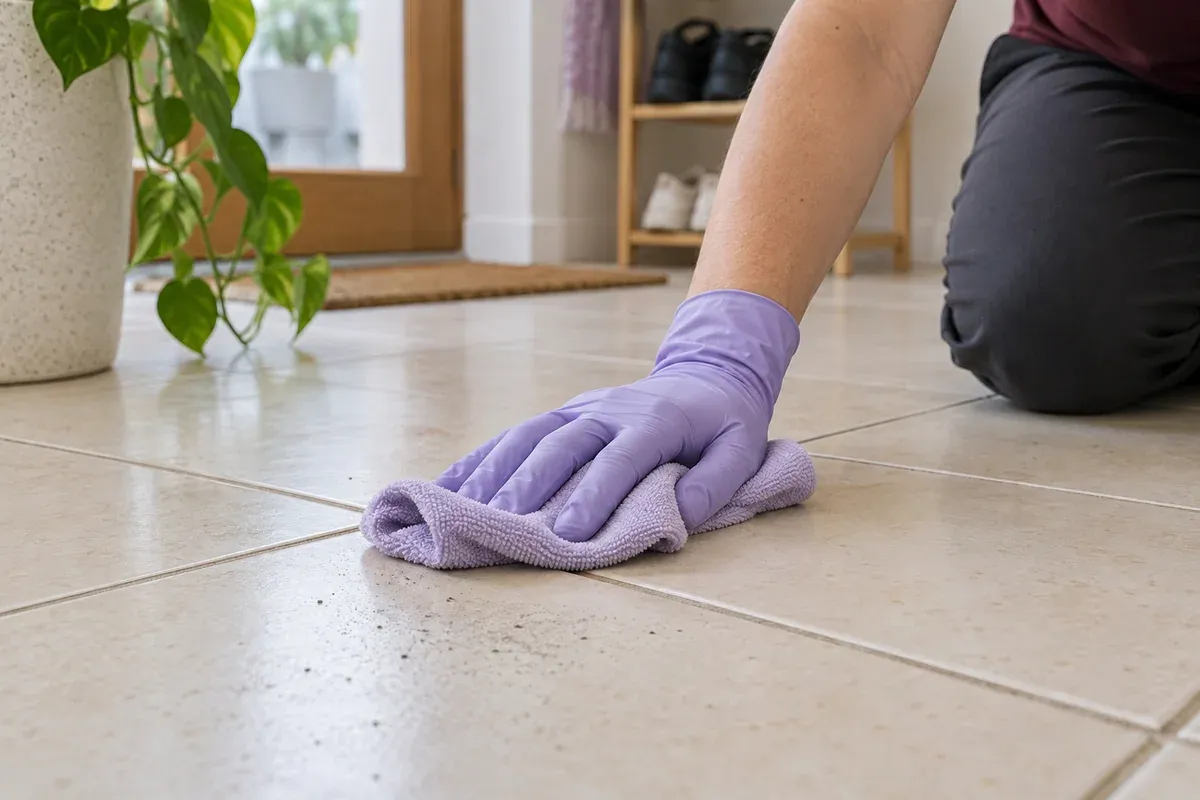
Step 2: Bicarb paste and a stiff brush
- Mix 3 tablespoons of bicarb soda with 1 tablespoon of warm water to a thick paste.
- Press it into the joints with the brush, about a square metre at a time, so it sits in the channel rather than on the tile.
- Leave it 15 minutes.
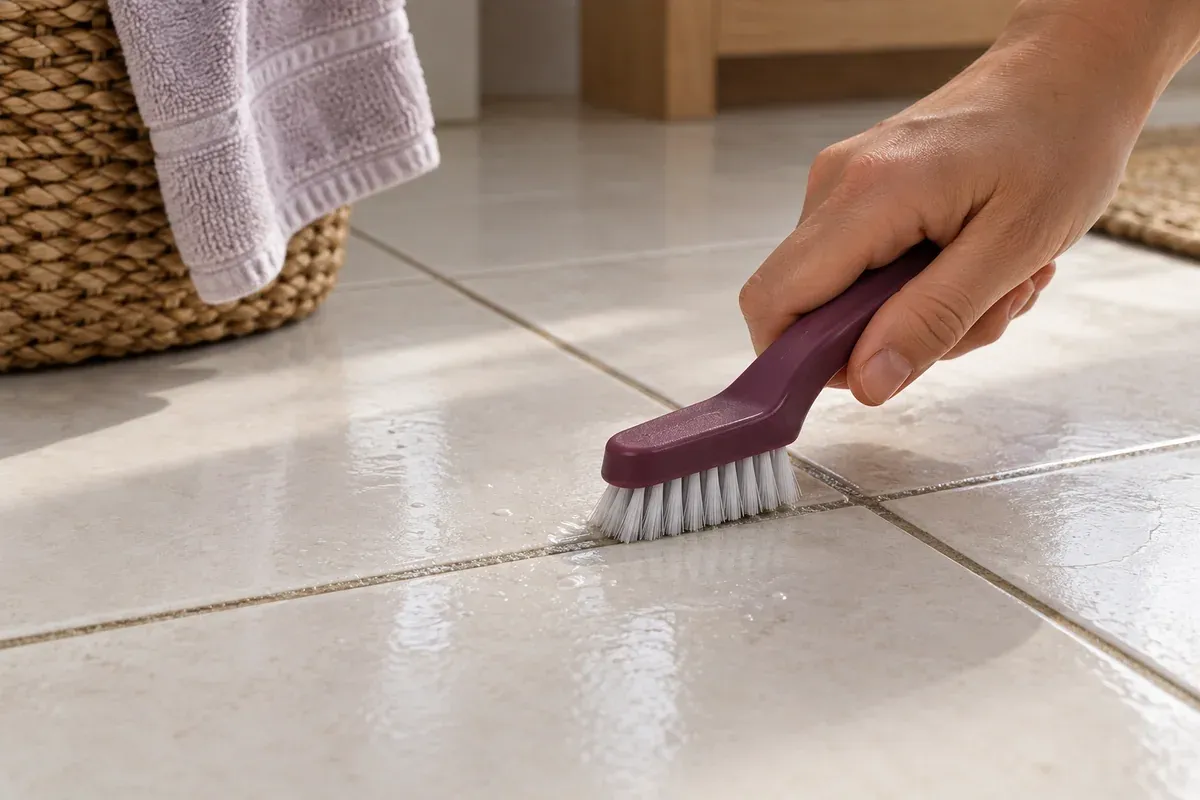
- Scrub along the joint, not across it, with short firm strokes.
- Rinse with warm water and wipe with a clean damp cloth.
Judge the result once the grout is dry, because wet grout always looks darker. Done looks like joints of an even colour from corner to corner. For a lot of grout, this is the whole job.
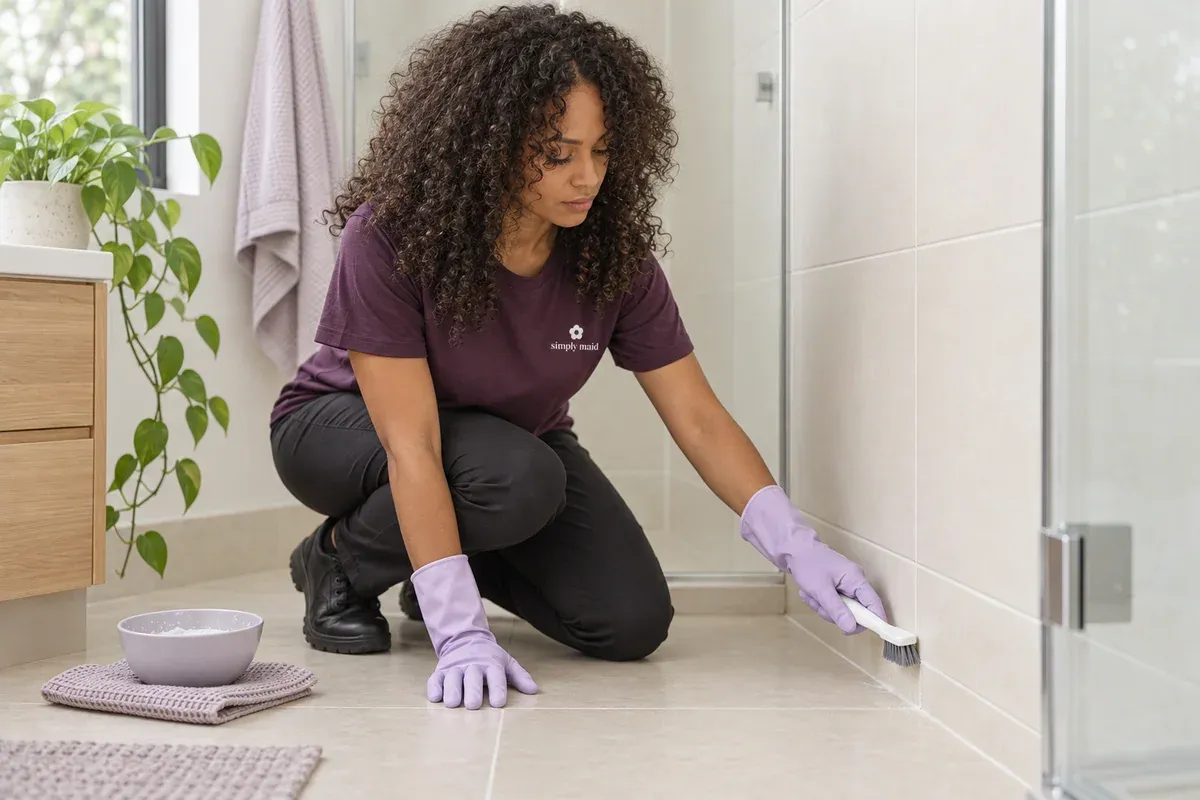
Step 3: Whiten grey or stained grout with oxygen bleach
Grey that survives the bicarb is usually staining absorbed into the grout, so contact time matters more than pressure. Test a hidden joint first and let it dry to check the colour, especially on coloured grout.
- Mix the oxygen bleach with warm water to a thin paste, using the packet's ratio.
- Spread it along the joints and leave it 15–30 minutes, misting it with water if it starts to dry.
- Scrub with the grout brush, then rinse well.
- Repeat once if it's better but not there. Two moderate rounds beat one aggressive one.
Step 4: Bleach for black mould
- Open a window, and put on gloves and eye protection.
- Mix 250 mL of household bleach into 4 litres of water: the dilution in NSW Health's mould fact sheet.
- Apply only where the product and grout manufacturer permit it. Follow that exact product’s wet contact time and rinsing instructions; the Clorox timing for a different mixture is not interchangeable.
- Scrub, rinse with clean water and dry the area.
Bleach kills and whitens the mould it reaches, but deep in porous grout it can whiten the stain while mould survives inside. If the black comes back within a few weeks, the fix is drying the room, not a stronger chemical. NSW Health also lists diluted vinegar for mild mould; on cement grout, skip it.
Step 5: Dry completely, then seal
- Let the grout dry for at least 24 hours, longer in cold weather. Sealer over damp grout traps the moisture in.
- Brush a penetrating (impregnating) grout sealer along each joint and wipe any off the tile face before it hazes.
- Keep water off it for the cure time on the pack; Davco's tile and grout sealer needs 24 hours.
Is it sealed? Drip water on a joint. If it beads, it's sealed; if it darkens and soaks in within a minute or two, it isn't. There's no fixed resealing interval: check every few months and reseal when water soaks in. Shower walls usually need it sooner than floors. A sealer slows absorption but doesn't make grout waterproof, and it won't protect it from acid.
Why has my grout turned black?
On shower walls and corners, black spots that come back after cleaning are usually mould: use Step 4, then fix the damp. On floors, grout that has gone grey-black all over is usually ground-in dirt: use Steps 2 and 3. Grout that's black and also soft or crumbling needs replacing, not cleaning.
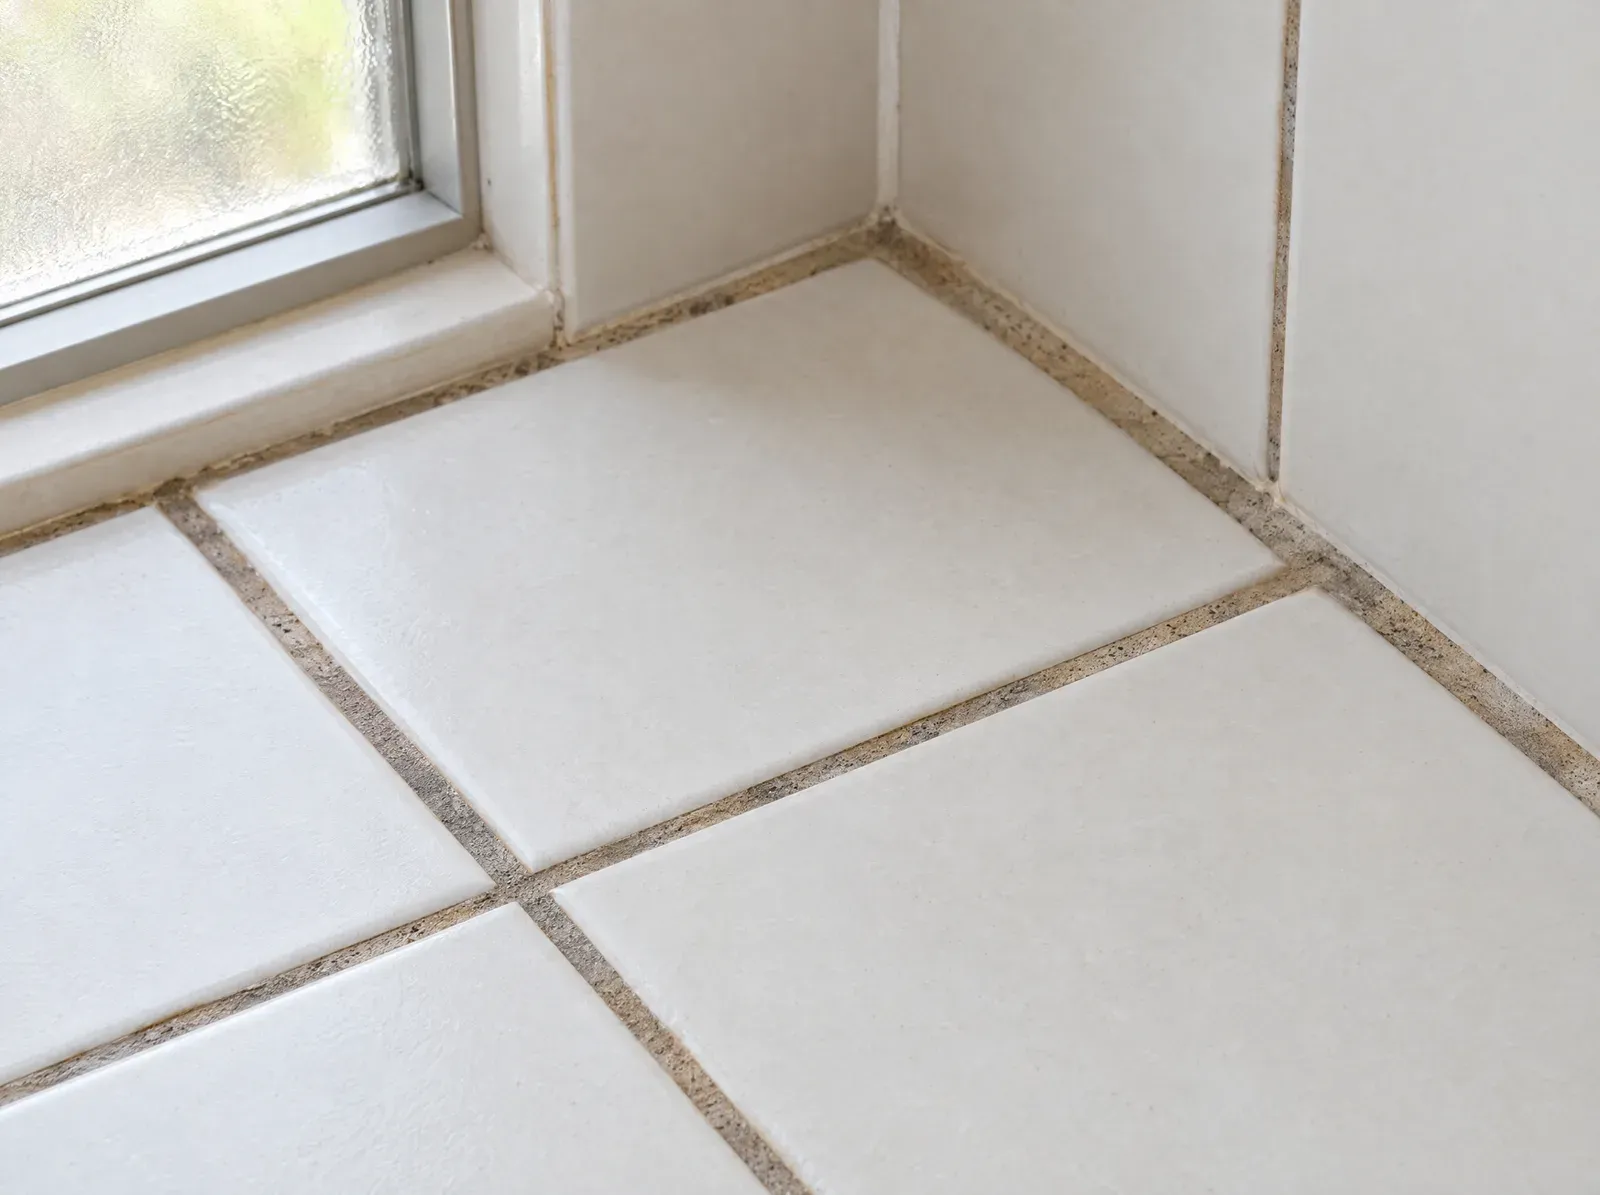
Stopping it coming back
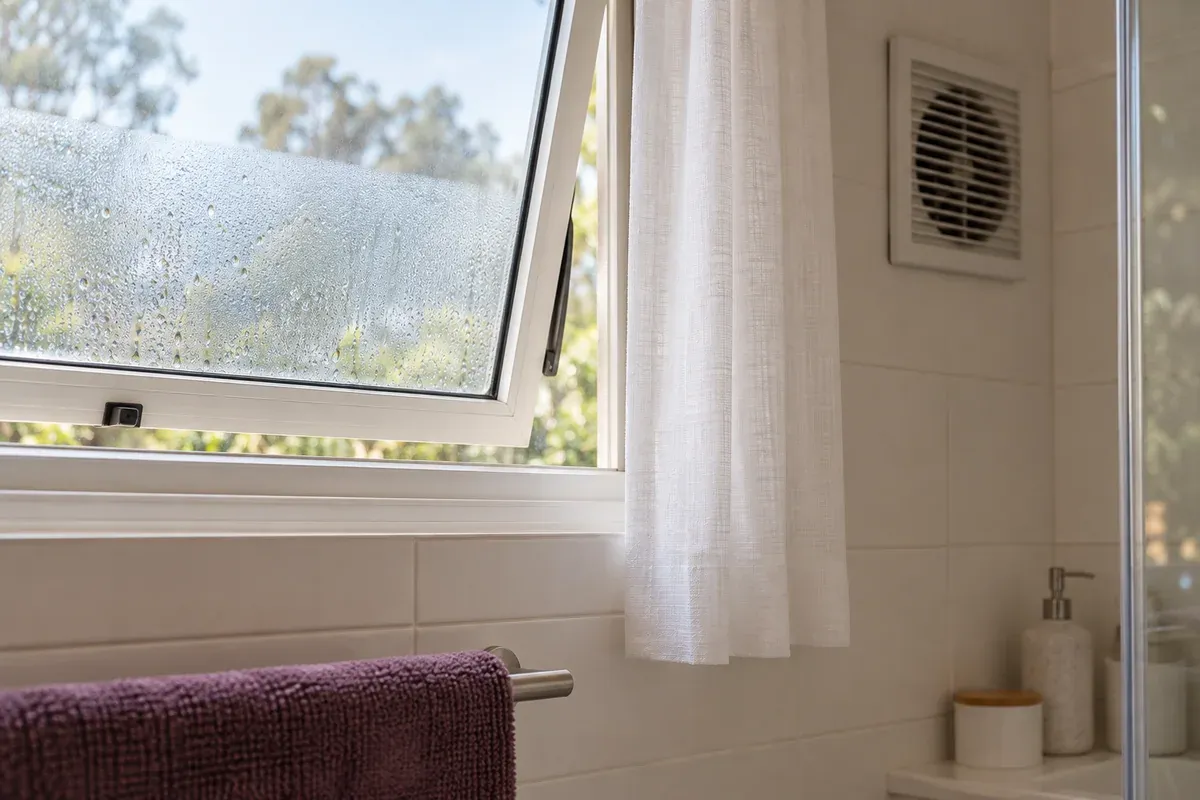
- Run the exhaust fan during the shower and until the condensation clears, at least 10 minutes.
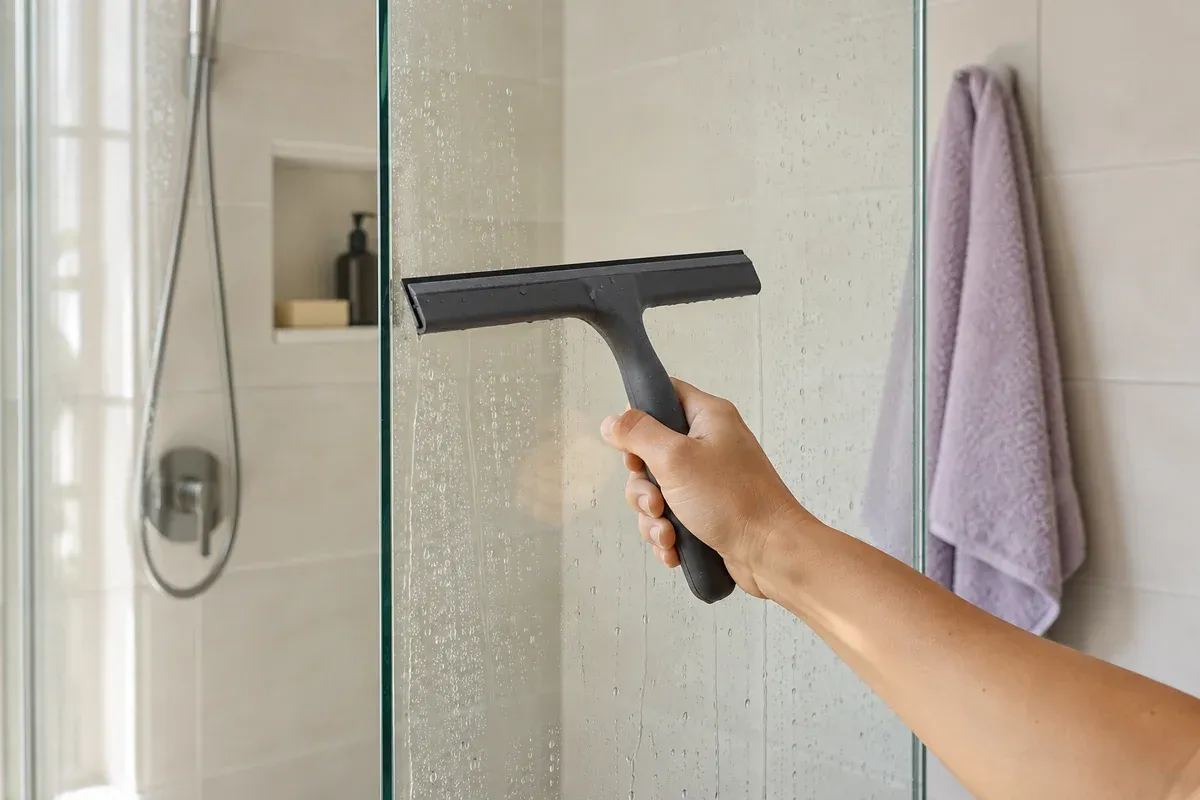
- Squeegee the walls and screen after the last shower of the day. It takes about 30 seconds.
- Leave the bathroom door open afterwards so damp air can move out.
- Keep the grout sealed, so less water and soap soak in.
A grout paint or pen re-whitens sound joints once they're clean and thoroughly dry. It can't repair grout that is failing.
When it's not a DIY job
Call a mould specialist if the mould covers more than about 1 m by 1 m, keeps coming back once the room is ventilated, or the person cleaning has asthma or another lung condition; How to Get Rid of Shower Mould and Mildew covers who shouldn't clean it. Soft, crumbling or missing grout needs a tiler to rake it out and regrout.
A Simply Maid deep clean scrubs tile grout and removes hard-water scale from the shower screen and tiles. Mould removal, regrouting and sealing aren't part of any of our cleans.
Frequently asked questions
Can you clean floor tile grout without scrubbing?
Not completely. An oxygen bleach paste left for 15–30 minutes does most of the work on stains, so the scrub afterwards is light, and a steam cleaner lifts grime with little effort. Film that's built up in the joint still needs a brush.
How often should I clean grout?
When the joints look grey: every few weeks in a steamy shower, or a couple of times a year if you squeegee and ventilate. A weekly wipe of the tiles stretches the gap, and 13 Bathroom Cleaning Tips That Save Time fits both into a short routine.
Last reviewed 24 September 2026 · Update history
Sources & References
- ARDEX Australia, Technical Bulletin TB186, July 2024 (PDF): cement grout corrodes in contact with acid; neutral or alkaline cleaners; well-diluted bleach only; steam accepted; epoxy takes acid cleaners.
- NSW Health, Mould fact sheet: the 250 mL bleach in 4 litres dilution and protective gear.
- Mapei, Can I use bleach on my grout?: regular bleach use discolours and weakens grout.
- Redox, Sodium percarbonate safety data sheet (PDF): alkaline; forms hydrogen peroxide in water.
- Clorox, Does bleach kill mold?: the 10-minute stand time.
- Dr Nathan Kilah, The Conversation, Vinegar and baking soda: a cleaning hack or just a bunch of fizz?: why the two neutralise.
- Aqua Mix Sealer's Choice Gold technical data sheet (PDF): the water-drop test; sealer won't prevent acid etching.
- Sika Australia, Davco Sanitized Tile & Grout Sealer data sheet (PDF): dry, clean grout; 24-hour cure.
- LATICRETE, Epoxy grout: everything you need to know: epoxy is non-porous and needs no sealing.
Related Reading
Change log
Who wrote and edited this article, when its sources were checked, and what changed.
View all historyHide earlier history
Earlier entries record what was published at the time. Later corrections take precedence.
- Edited by
- Huy Hoang
24 September 2026: How to Clean Grout: the bleach step for black mould now gives a contact time (about 10 minutes) instead of deferring to a label, and the exhaust-fan advice now matches our other bathroom guides (during the shower and until condensation clears). It also explains which grout you have before you start and when mould is a job for a specialist.
- Edited by
- Huy Hoang
Correction, 22 September 2026: the fixed resealing interval ("annually", "every two to three years") was replaced with the makers' condition test, because no grout or sealer maker publishes a fixed interval; the acid-damage source is now ARDEX Australia's technical bulletin rather than a product landing page; the mould section cites NSW Health's bleach dilution rather than Better Health Victoria, whose page recommends detergent or vinegar; and the colour safety of oxygen bleach is now qualified.