
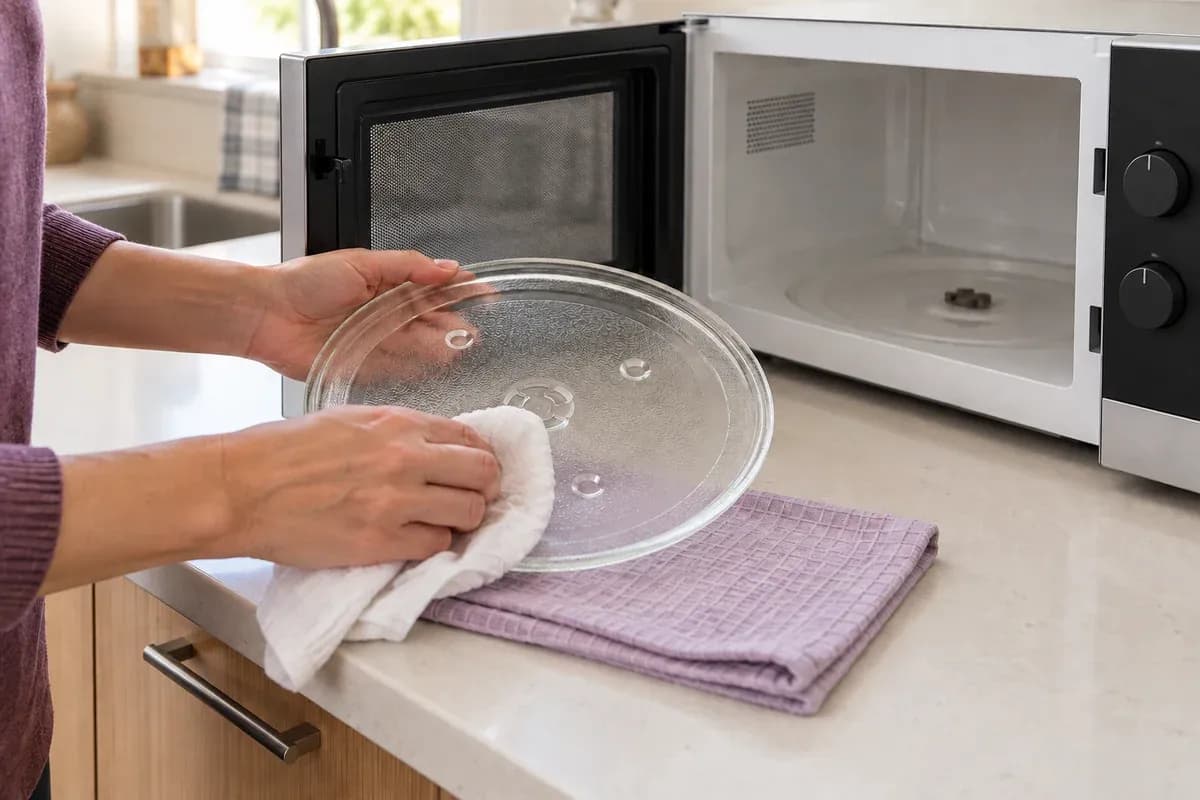
Soup splashes, crumbs under the plate and fingerprints on the door need slightly different attention. Start with a gentle wipe, then check the parts that are easy to miss. Your microwave’s manual decides whether steaming, a cleaning programme or a particular product belongs in the process.
Quick answer: Let the microwave cool, switch it off and unplug it before wiping. Use a soft cloth dampened with water and a little mild dishwashing liquid where the manual permits. Clean the cavity, door and sealing surfaces without flooding vents; wash removable parts as directed, then dry and refit them. Use a heated cleaning method only as instructed for your model. Stop using an appliance with a damaged door or seals, corrosion or unexplained sparking.
Before you start
Find the model number and its care instructions. Check whether it has a turntable, a flat base, a grill or a water tank. A microwave-safe bowl is not automatically suitable for a convection or grill setting; the selected mode matters.
Check the door before cleaning. ARPANSA’s precautions call for an undamaged door that fits squarely and closes smoothly, sound hinges and clean sealing surfaces without corrosion. Damage needs qualified assessment, not harder scrubbing.
Gather two soft cloths, mild dishwashing liquid, warm water and a towel for removable parts. Avoid scourers, steel wool, metal scrapers and abrasive powders. Keep oven cleaner, bleach and solvents out of a general microwave-cleaning routine; use only products approved for the particular surface.
Clean the microwave step by step

Follow the model’s instructions. Do not dismantle the appliance or run it empty; damage, arcing or persistent burning smells need service advice.
Read the illustration as text
- Owner-removable parts
- Clean the turntable and support only as the manual permits.
- Fixed cavity and cover
- Wipe gently; leave the waveguide cover in place.
- Dry and refit
- Keep moisture away from vents and refit the permitted parts.
Cool and disconnect the microwave before starting.
1. Cool and disconnect it
Stop the appliance and let it cool completely, particularly after grilling or convection cooking. Switch it off and unplug it before wiping. For a built-in unit with an inaccessible plug, follow its isolation instructions rather than pulling the appliance out.
2. Remove the parts intended for cleaning
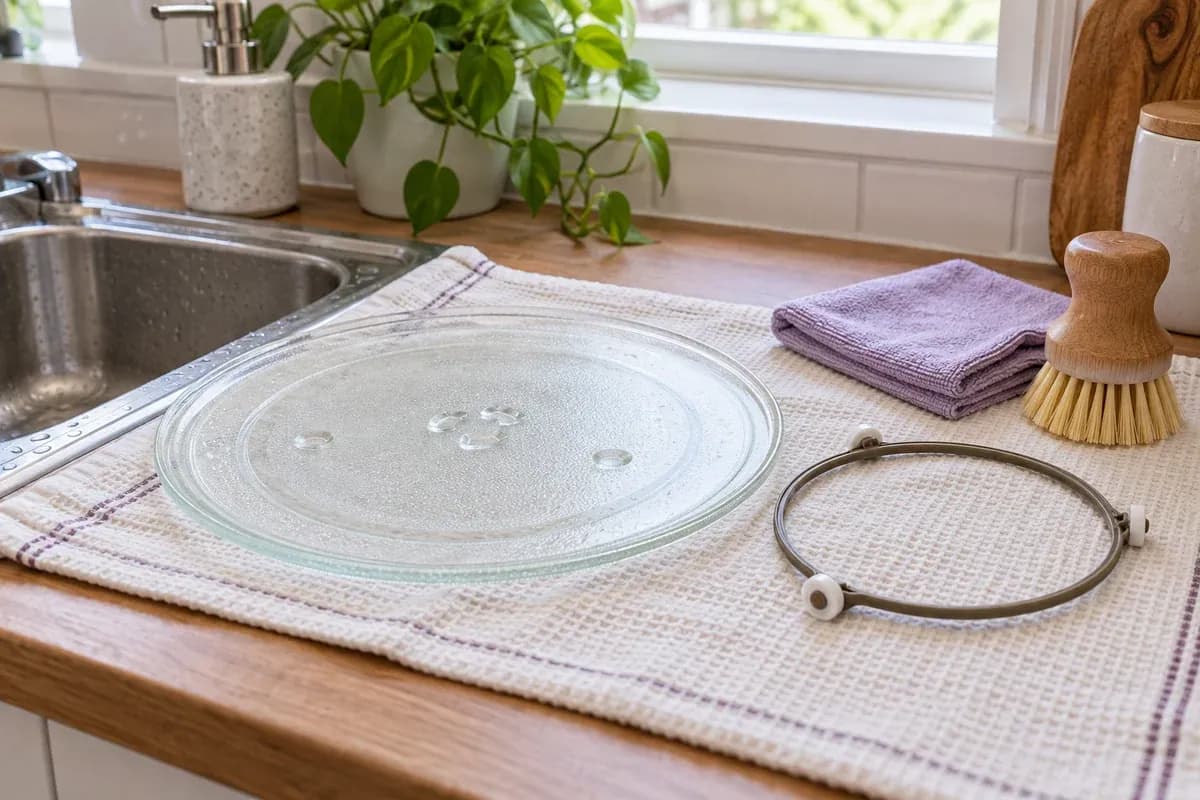
If fitted, lift out the glass turntable and removable roller ring. Breville’s BMO870 ANZ manual says to cool its glass plate to room temperature before washing. Wash the plate and ring in mild soapy water, rinse and dry; follow your own manual for other parts. Do not dismantle the drive mechanism.
Use the dishwasher only when your model’s instructions permit it. Permission for a crisping tray does not establish that the glass plate, water tank or other accessories can go in too. A flatbed model has no turntable to remove.
3. Wipe the cavity and door
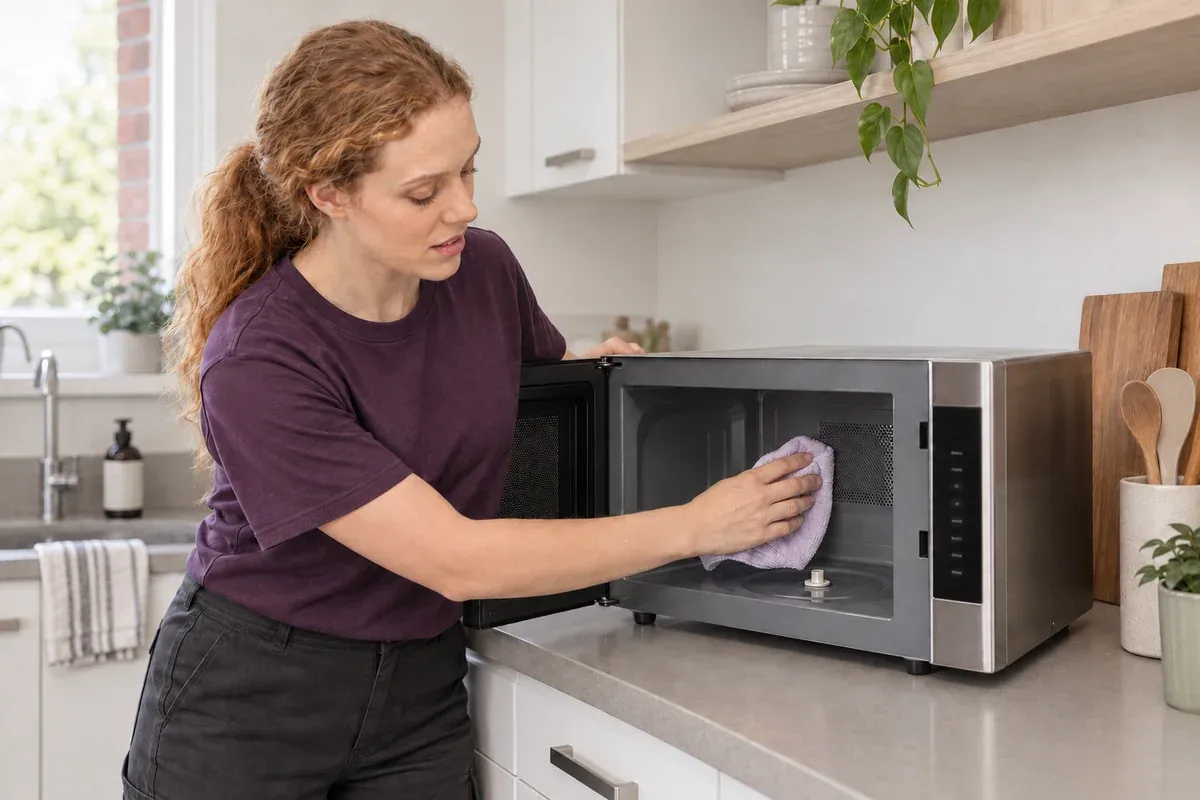
Wring out the cloth so it is damp, not dripping. Wipe accessible upper surfaces, walls and then the floor, collecting loosened food as you go. Use mild detergent where allowed; wipe away its residue with a clean damp cloth and dry. Do not pour water into the base or push liquid into openings.
Clean both sides of the door glass, its edges and the surfaces it closes against with a soft cloth. Samsung’s cleaning guidance also emphasises clean door seals and keeping moisture out of vents. This is Canadian support guidance; check your Australian model’s care instructions for its finishes and accessories.
Do not prise apart the door or use a toothpick or brush to dig into seals. If a crevice cannot be cleaned gently without dismantling something, ask the manufacturer.
4. Treat the waveguide cover gently
The small panel inside the cavity that can look like cardboard is not loose packaging. Samsung’s cover guidance says to leave it in place and clean gently with a soft cloth or sponge and mild detergent, without aggressive scrubbing. Appearance and location vary. If it is damaged, burnt or heavily soiled, seek advice about the correct replacement rather than removing it and carrying on.
5. Wipe the exterior, then dry and refit
Clean the handle and exterior with a soft damp cloth as the finish allows. Use a barely damp cloth on controls; do not spray directly onto them or into vents. For coated or fingerprint-resistant metal, follow its care instructions before applying a stainless-steel product.
Dry the cleaned surfaces and removable parts. Refit the ring and plate correctly, if present, before reconnecting the appliance. Remove every cloth and cleaning item from the cavity. Do not run an empty microwave-power cycle to dry it.
Should you steam-clean it?
Steam can help loosen dried food, but there is no single water quantity, power level or heating time suitable for every microwave. Use your model’s cleaning programme or its specified bowl method. If its manual gives no such method, stick with the damp-cloth clean or ask the manufacturer.
For example, the Panasonic NN-DS59NB Australian manual has separate cavity-cleaning, deodorisation and steam-system maintenance programmes. Cavity cleaning uses its water tank. The system-cleaning recipe is for that system, not a mixture to wipe onto any microwave interior.
The main hot-water hazard is superheating: water can be dangerously hot without visible bubbling and erupt when disturbed. The FDA’s explanation warns that moving a container or adding something to the water can trigger this. Do not tap a hot bowl to test it, choose damaged crockery, or treat a wooden spoon as a guarantee against burns.
Follow every liquid-heating precaution alongside any cleaning recipe. The Breville BMO870 manual specifies stirring before and halfway through heating, avoiding narrow-necked straight-sided containers, avoiding overheating and allowing standing time before removal. Use care with utensils, hot containers and steam. Stay nearby while heating; do not extend the cycle simply because a stain remains.
An external steam-cleaner appliance is a different tool from an approved microwave cleaning programme. Do not direct one into the microwave.
Stubborn marks and burnt smells
Start by looking for food on the roof, beneath removable parts and around the door. Clean it gently once cool. If a mark persists, check the finish and its approved treatment before escalating. Colour alone does not tell you whether a mark is a food stain, damaged coating or corrosion.
What you notice | What to do next |
|---|---|
Dried food that resists wiping | Use only the softening method or cleaner approved for the model and surface. Avoid repeated longer heating cycles. |
A food smell after an obvious spill | Remove the residue and clean removable parts. Use a manufacturer-approved odour programme if provided; fragrance does not prove the cause is gone. |
Rust, flaking coating, a burnt cover or damaged door | Stop using the appliance and ask the manufacturer or a qualified technician to assess it. Do not sand, repaint or dismantle it yourself. |
Sparking or an unexplained burning smell | Stop operation. Do not keep running it to burn off the smell; consult the manual and seek service if the cause is unclear. |
If smoke or fire appears inside, stop the microwave and keep the door closed. Disconnect the power if safe. Do not open the door to start cleaning while it is smoking or burning.
Grill, convection and steam models
These models have extra surfaces and parts with their own rules. The Panasonic NN-DS59NB care section allows a specified microwave cleaner on stubborn cavity spots but excludes the door from that treatment. Its grill tray can go in the dishwasher; its drip tray and water-tank parts cannot. Follow the instructions for the exact part, and let heaters cool fully before any permitted wiping.
Avoid treating every shiny interior as bare stainless steel or applying ordinary oven-cleaning instructions to a combination microwave. A flatbed’s fixed base is wiped in place, not lifted out like a glass turntable.
Keep splashes manageable
Clean spills once the appliance is cool enough for the care method it requires. CHOICE suggests wiping every few days, depending on use. Let visible food residue prompt cleaning rather than waiting for a weekly or fortnightly date. A separate steam cycle is not a compulsory maintenance interval.
Use a suitable cover for food when its cooking instructions allow it. CSIRO’s guidance on containers and films explains that materials must suit microwave use. Keep covers vented as directed, and check separate grill/convection restrictions. Covering food can reduce splatter; it does not remove the need to check and clean the appliance.
Frequently asked questions
Do I need lemon or vinegar?
No. Water, a soft cloth and mild detergent as permitted by the manual are the starting point. Some manufacturers specify lemon in an odour method, but that is not permission to apply acids to every door, coating or accessory. Do not assume a cloudy patch is limescale.
Can I scrub it with bicarb soda?
Do not use a paste as a universal fix. Abrasive restrictions apply even to familiar household ingredients. Check the care instructions for the affected surface and avoid scrubbing the door, seals or waveguide cover.
Does this disinfect the microwave?
This guide describes removing food and grime. It does not establish a disinfecting temperature or contact time throughout the cavity. Do not assume that steaming or running the appliance makes all surfaces sterile.
What if the smell stays after cleaning?
A lingering smell is not proof that you missed a crumb, and repeated lemon cycles are not a diagnosis. If you cannot identify the cause, or there is burning, sparking or visible damage, stop using it and seek manufacturer advice.
Related reading
Continue with the kitchen cleaning guide for the surrounding room.
For a metal exterior, see cleaning stainless steel and coated finishes before choosing a product.
Sources and editorial note
Manufacturer examples illustrate why model and surface checks matter; they are not product endorsements or reports of Simply Maid testing. The contextual links above identify the manuals and public guidance used.
Editorial correction, 20 September 2026: removed the universal steam recipe, scratched-bowl and tapping advice, repeated-heating guarantee and unsupported burnt-smell diagnosis. Added model-specific cleaning exceptions and updated the quick answer, FAQs and summaries. Images illustrate the process; they are not evidence of a measured cleaning test.
Change log
Who wrote and edited this article, when its sources were checked, and what changed.
View all historyHide earlier history
Earlier entries record what was published at the time. Later corrections take precedence.
- Edited by
- Huy Hoang
Editorial correction, 20 September 2026: removed the universal steam recipe, scratched-bowl and tapping advice, repeated-heating guarantee and unsupported burnt-smell diagnosis. Added model-specific cleaning exceptions and updated the quick answer, FAQs and summaries. Images illustrate the process; they are not evidence of a measured cleaning test.

