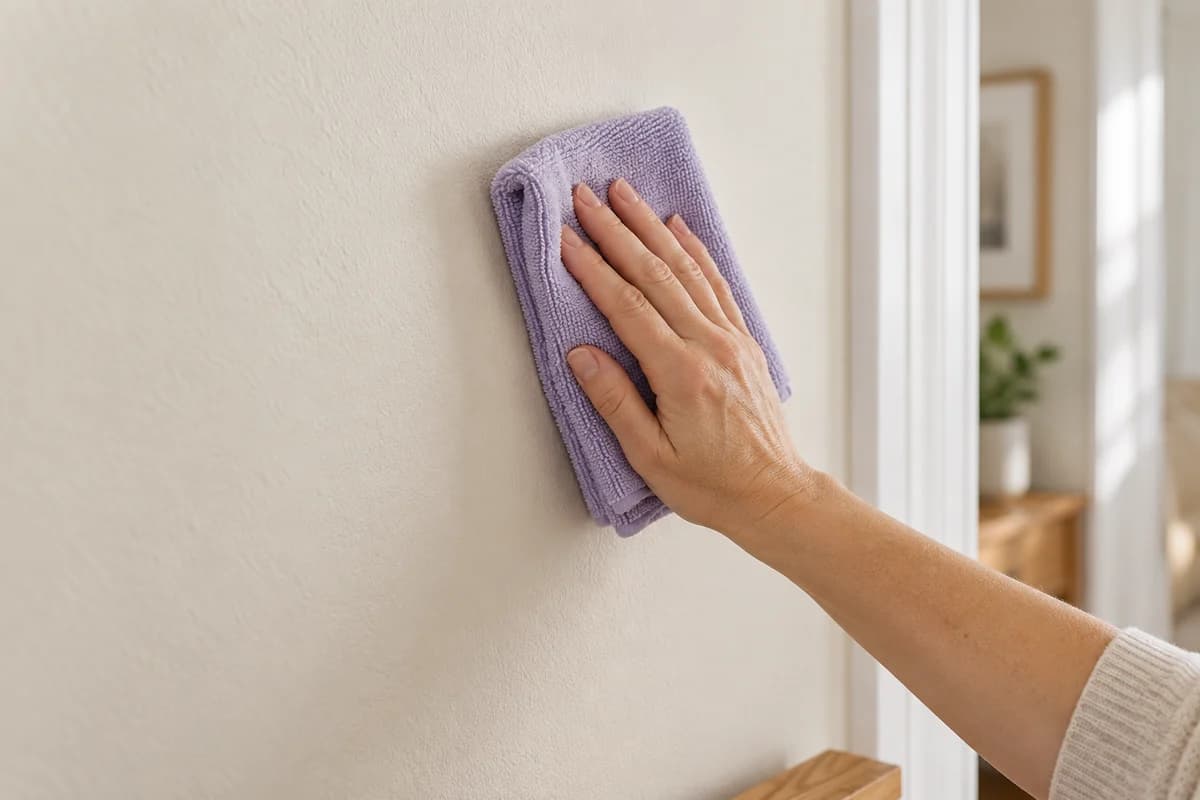
For washable painted walls, start with a soft cloth and the gentlest method the paint maker allows. Test a hidden patch, use very little moisture and check the result when it dries. Stop if the colour or sheen changes: a stubborn mark is easier to assess than a larger patch of damaged paint.
This guide covers everyday dust, fingerprints and scuffs on indoor painted walls. If you are preparing a rental for handover, it works alongside the end-of-lease cleaning checklist. Wallpaper, bare plaster and decorative coatings need their own care instructions.
Before you wet the wall, check the paint
Find the paint name and finish on a leftover tin, in the home’s handover documents, or by asking the owner or painter. “White paint” is not enough information to choose a cleaner. Note whether it is washable and whether it was recently applied.
Dulux Australia’s care advice distinguishes finishes and recommends warm water with a little mild detergent for flat coatings, avoiding rough abrasives, solvents and stiff brushes. Follow the instructions for your actual product if they differ.
- Flat or matt: use especially light pressure. Check the dried test patch before doing more.
- Low sheen, satin or semi-gloss: confirm the product’s washability; the finish name alone is not permission to scrub.
- Fresh paint: follow its specified curing period before washing. Touch-dry does not necessarily mean ready to clean.
- Unknown, powdery, peeling or damaged coating: stop and ask the paint manufacturer or a painter what it can tolerate.
Do not apply one waiting period to every brand. Dulux and Sherwin-Williams give different general curing guidance; the product instructions and conditions in the room are the useful reference.
What you need
Keep the kit simple, and check the cleaner’s label for handling instructions.
- Soft, clean cloths or a non-abrasive sponge.
- Warm water and a small amount of mild detergent, if suitable for the paint.
- A separate container of clean rinse water.
- A clean towel for moisture and a cover to protect the floor.
- The paint’s care instructions, if available.
Set aside scouring pads and stiff brushes. This is a cleaning job, so there is no sanding or scraping step. Move anything leaning against the area you want to clean and make sure you can comfortably reach it.
How to clean walls, step by step
1. Remove loose surface dust
On sound, dry paint, gently lift dust with a soft cloth or suitable dusting tool before introducing water. Pay attention to corners and the top of skirting boards. This step is for ordinary dust; do not treat suspected mould as a routine dusting job.
2. Test a small hidden patch
Try your intended cloth, cleaner and pressure somewhere unobtrusive. Let the patch dry and look from an angle as well as straight on. Check for a watermark, colour change or difference in sheen. Sherwin-Williams recommends testing the solution and technique before continuing.
If the test leaves a visible change, stop. A hidden patch that reacts poorly is useful information; do not repeat the same method across the visible wall.
3. Wipe gently with a well-wrung cloth
Use the approved mild solution and wring the cloth out well. It should be damp, not dripping. Work on a manageable area with light pressure rather than repeatedly rubbing one point. Sherwin-Williams warns that excess water can harm the paint.
For a whole-wall wash, follow the paint maker’s sequence. Its maintenance guidance recommends working from the bottom upwards and not allowing cleaner to dry on the surface. Dusting and wet washing do not have to follow the same direction.
4. Remove the cleaning residue
Use a fresh, well-wrung cloth with clean water to remove the solution as directed. Refresh dirty water rather than carrying it back onto the wall. A stronger mixture is not the next step simply because the rinse water has become dirty.
5. Let it dry, then decide whether to continue
Gently absorb excess moisture with a clean towel and let the area dry. Assess it in normal daylight. If a mark remains but the paint is intact, check the manufacturer’s stain advice. If the finish is changing, leave it alone and seek advice about repair.
Match the next step to the mark
Dust and light fingerprints
Start with the mild method above. There is no need to choose a heavy-duty degreaser just because the mark is on a wall. Haymes recommends a damp cloth for routine wall maintenance and mild soap and water rather than harsh cleaners.
Cooking grease
Check whether the paint allows a cleaner made for painted surfaces. Use its specified dilution and test it first. Keep routine grease removal separate from preparation for repainting: a preparation product’s instructions may assume that a new coat will follow.
Scuffs or a shiny patch
Try the gentle method only if the coating allows it. A shiny area that remains when dry may be a change to the finish rather than dirt. Dulux’s technical guidance on burnishing explains how rubbing can polish low-sheen paint, especially on dark colours. Repeated spot-cleaning can contribute to the problem.
Stop if rubbing makes the patch shinier or transfers colour. Cleaning cannot be relied on to restore an altered coating; discuss the repair with a painter instead of increasing pressure.
Crayon, pen or an unidentified stain
Identify the paint and the mark before choosing a specialist product. Do not improvise with a solvent on an unknown finish. If the manufacturer cannot recommend a suitable method, a paint repair may be the better next step.
Mould, bubbling paint or a recurring damp patch
Pause the general cleaning method. NSW Health explains that moisture control is central to preventing mould. Use our separate mould-on-walls guide and the health guidance to decide the appropriate response. A damp or damaged wall needs the cause investigated, not just its appearance cleaned.
Can you use sugar soap on painted walls?
Some sugar-soap products are intended for painted surfaces, but follow the exact product label and the paint’s care guidance. “Sugar soap” does not identify one universal formula or dilution.
Selleys Original Sugar Soap is marketed for grease and grime removal and paint preparation. Selleys advises testing delicate or coloured surfaces first. That makes it a product to assess for a particular job, rather than the automatic starting point for a light fingerprint.
Check the rinsing instructions for the job you are doing. Selleys’ rinsing advice specifically discusses repainting; do not assume a preparation shortcut applies when you are keeping the existing finish.
What about magic erasers, vinegar and baking soda?
Do not treat a popular cleaning hack as suitable for every paint. Check both the tool or cleaner and the coating instructions first.
For example, Mr. Clean’s Magic Eraser guidance calls for a small-area test and lists finishes it does not recommend, including high-gloss, dark and satin surfaces. A wall being washable does not mean every cleaning pad is appropriate.
This method does not require vinegar, bleach or a baking-soda paste. Start with the mild option supported by the paint maker instead of combining recipes. If that fails, identify the stain and seek product-specific advice.
Cleaning walls before a rental inspection
Compare the wall with the entry report and your move-in photos before you start. Photograph existing marks and any damaged or uncertain paint. If you do not know the coating, ask the property manager for its details rather than experimenting across a whole wall.
If booking a cleaner, describe the job clearly: a few spot marks and a full wall wash are different scopes. Confirm what is included and flag delicate finishes in advance. Do not assume either is included in a base booking or that a clean guarantees a bond refund.
For the rest of the handover, use the final inspection guide and bond-back guide. For general moving preparation, start with our moving house checklist.
Questions about cleaning painted walls
How do you clean white walls?
Choose the method by paint type and condition, not colour alone. Test first, then use the approved mild method with a soft, well-wrung cloth. White paint can still have a delicate or non-washable finish.
How do you avoid streaks?
Use clean cloths and rinse water, remove residue as directed and avoid soaking the wall. Let it dry before deciding whether a visible patch is residue or a change in sheen.
Should you wash the whole wall or just the mark?
Start by assessing the affected area and testing the finish. Avoid repeatedly polishing one stubborn spot. If a wider wash is appropriate, follow the paint’s care method consistently across the area; stop if the appearance changes.
When is it time to repaint?
Cleaning is not a reliable fix for a chipped or altered paint film. Ask a painter about repair if the mark remains after an approved gentle clean, the colour transfers, or the sheen changes. Sherwin-Williams notes that even paint touch-ups can remain visible.
Sources and next steps
Source guidance checked on 8 October 2026. Brand advice applies to the products and situations it describes; the care instructions for your paint take priority.
- Dulux Australia: caring for painted surfaces.
- Dulux: burnishing and marring technical advice.
- Sherwin-Williams: cleaning painted walls and maintenance FAQs.
- Haymes Paint: maintaining high-use rooms.
- Selleys: Original Sugar Soap and rinsing before repainting.
- Mr. Clean: Magic Eraser surface restrictions.
- NSW Health: mould.
Need help with the rest of the home? See my price, then confirm any wall-cleaning requirements before booking.
Change log
Who wrote and edited this article, when its sources were checked, and what changed.